 |
| Hessian Troops man the redoubt |
All of that ruled out my initial choices (I was eyeing up Monmouth), not to put down the battle but the only one I could see that a) had enough stuff in for 4-6 players and b) didn't include the above troops was 2nd Saratoga. It certainly has refocused my AWI painting queue but then I have had the horses done on 12 British Light Dragoons for over a year so its my own fault.
 |
| Poors' Brigade advances |
I made some minor alterations to the orbat, the odd figure here and there, just to fit in with the way the figures are based. I also added an additional American Brigade by splitting Poors' Brigade in half (I can hear the gasps from the purists !), this was to allow the players to command their own troops and for the ultra purists the figures in our collection are general AWI troops and not specific to the Campaign.
As a bit of fun I live tweeted the game on, would you believe it Twitter. A pic at the end of each turn as we played and there was some decent interaction. You can follow on @yarkshiregamer.
 |
| Morgan moves on the British flank |
After his failure to break the Americans at Freemans Farm Burgoyne the British Commander spent a couple of weeks pondering his next move. On the day of the battle, he took a strong recon force out to probe the American lines and do a spot of foraging at the same time. The reaction was swift and forceful from the Americans and Burgoyne was forced back onto his pre prepared positions. At the end of the action the Brits had lost 800 men and several guns, 9 days later the 6000 men of the force surrendered, a black day for the British and a turning point in the war.
 |
| Phillips repositions to counter Morgan |
Map and Set Up

A fairly straight forward battlefield, a large hill with 2 redoubts forms the anchor of the British Line there are two fenced field complexes along with a good amount of open woods.
All the British start on table as shown, Fraser should be spread out along the front with a skirmish screen in front.
For the Americans Poor starts on table (for our version Poor and Scott), roll 1d6 for Morgan and he arrives on turn 1 on a 5 or 6, turn 2 on a 3 or 4 and turn 3 on anything else. Learned comes on behind Poor with a 1d4 turn delay.
The Americans needs to push the British off the table causing as much damage as they can whilst the Brits need to hold the hill line.
 |
| Fraser falls back from the woods keeping Poor under fire |
American
| Gen Benedict Arnold | C in C | Excellent | |
| Brig Gen Morgan | 1st Brigade | Excellent | |
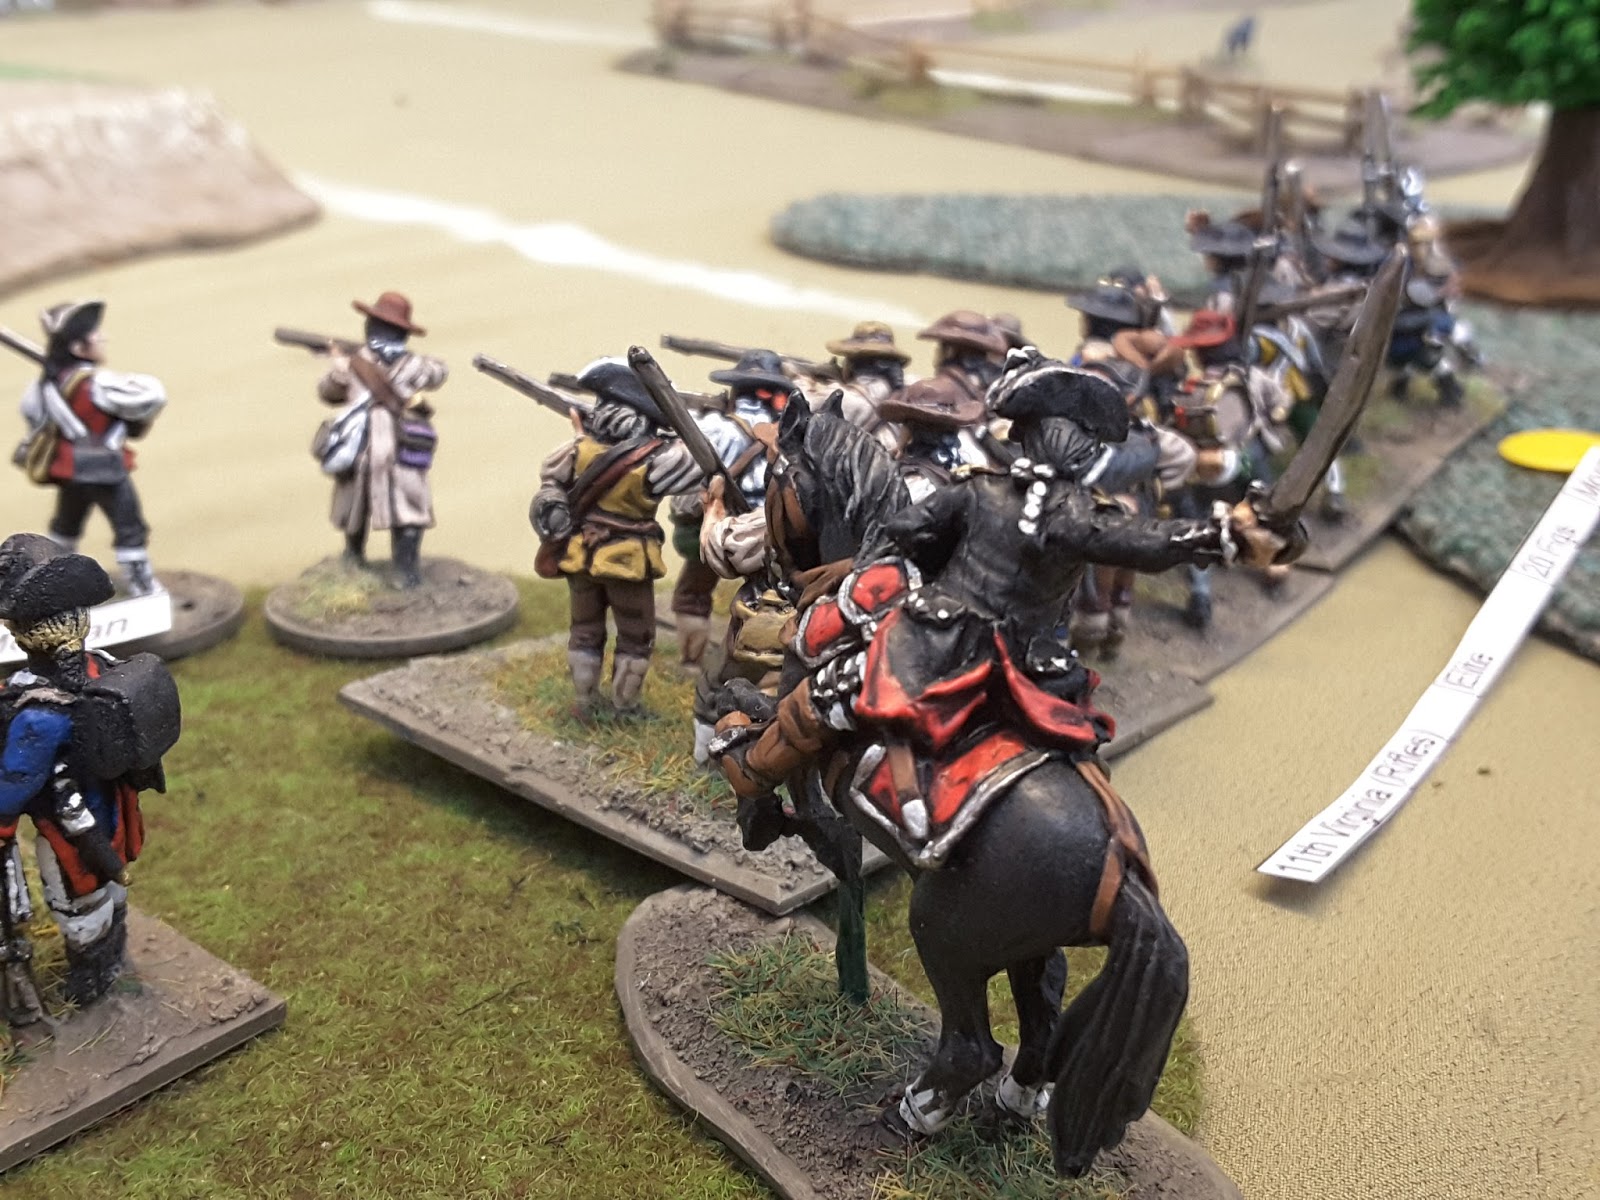
| 11th Virginia (Rifles) | Elite | 20 Figs | |
| Dearborn's Light Btn | Line | 20 Figs | |
| Morgans Skirmishers | Elite | 8 Figs | |
| Brig Gen Poor | 2nd Brigade | Average | |
| 1st New Hampshire | Line | 18 Figs | |
| 2nd New Hampshire | Line | 20 Figs | |
| 3rd New Hampshire | 2nd Line | 16 Figs | |
| 2nd New York | 2nd Line | 16 Figs | |
| Brig Gen Scott | 3rd Brigade | Average | |
| 4th New York | 2nd Line | 16 Figs | |
| 1st Conn Militia | Militia | 24 Figs | |
| 2nd Conn Militia | Militia | 20 Figs | |
| Brig Gen Learned | 4th Brigade | Average | |
| 2nd Mass | Line | 24 Figs | |
| 8th Mass | Line | 24 Figs | |
| 9th Mass | Line | 24 Figs | |
| 1st Canadian Regt | 2nd Line | 24 Figs | |
| Learneds Skirmishers | Line | 8 Figs |
 |
| Conn Militia on the move |
| Lt Gen Burgoyne | C in C | Average | |
| Brigadier Fraser | 1st Brigade | Excellent | |
| Frasers Skirmishers | Line | 6 Figs | |
| Foragers | Line | 6 Figs | |
| 1st Light Infantry | Elite | 16 Figs | |
| 24th Foot | Line | 16 Figs | |
| Major Gen Riedesel | 2nd Brigade | Average | |
| Hesse Detachments | 2nd Line | 20 Figs | |
| British Grenadiers | Elite | 16 Figs | |
| Pausch's Artillery | Line | 1 x 6pdr | |
| Reserve Artillery | Line | 1 x 12pdr | |
| Howitzer Section | Line | 1 x How | |
| Williams' Artillery | Line | 2 x 6pdr | |
| Maj Gen Phillips | 3rd Brigade | Average | |
| 1st British Detachments | Line | 16 Figs | |
| 2nd British Detachments | Line | 16 Figs | |
| Col Berryman | 4th Brigade | Poor | |
| Hesse Jagers | Elite (Rifles) | 6 Figs | |
| Hesse Grenadiers | Line | 16 Figs |
 |
| The Thin Red Line |
We used British Grenadier rules for our refight, a set we are all fairly familiar and happy with, being from the same stable as our Napoleonic and SYW rules is great in someways, the basics flow freely although we do find ourselves quoting rules quite confidently only to find they are from one of the other sets.
 |
| Morgan advances |
The British didn't stand still, well aware of the threat to their flank, Philips repositioned his Brigade quickly putting one Battalion either side of Berymans redoubt securing that flank whilst the Artillery moved itself back onto the hill and into the other redoubt for a better field of fire.
 |
| Fraser starts to threaten the Americans flank |
In the middle Learneds Brigade had joined the mass of American troops as they advanced, subtle is wasn't as a double Brigade column developed and moved towards the hill. Riedesel saw his chance and wheeled to take the advancing column in the flank, supported by parts of Frasers Brigade who were comfortable in their skirmish with Poor.
 |
| Charge !!! |
 |
| Melee |
 |
| Victory ? |

 |
| No defeat |
A close run thing but a British victory, a cracking game too and one we would certainly consider revisiting.


Next up is a Spanish Civil War battle around the University in Madrid.
No comments:
Post a Comment